As we start to prep for starting of seeds here for the We Sow We Grow Project - I figured we could share what we do and how well it's worked for us in the past. I know that so many of the folks in our group want to be able to start seeds instead of paying cash for several slats of already started plants that you order through seed catalogs or from big box stores.
Please understand, purchasing already started plants in no way makes you a "cheater." It just makes you a person who does things that work for your homestead, and no one has any right to challenge you on that. However, if you're game to trying your hand at growing from seed to harvest, we've got 5 Steps on How To Start Seeds for you!

5 Steps on How To Start Seeds
Know When to Start Your Seeds
This is probably the easiest step of the entire process. If you look at the packets of your seeds, you'll see all this information, usually on the back, and usually with very important dates to think about. Your last frost date. The sow by date, and how deep and far apart to plant each of the seeds. Obviously, if you're starting these seeds inside, you don't have to worry about distance from each other, because you're doing individual planting (so you can thin easily) But those last frost dates, and sow by dates - IMPORTANT. We want to make sure that you have as much growing time of the season when you move your seedlings outside. The purpose of starting the seeds inside is to maximize ALL of your growing season - especially if you live in a cold-weather area like We Sow We Grow is based in.

Know What Containers to Start Your Seeds In
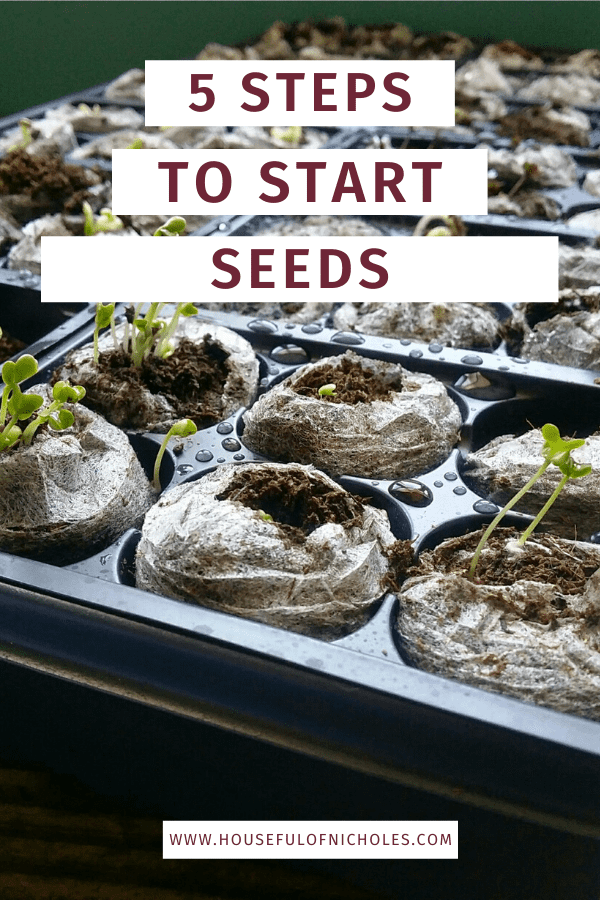
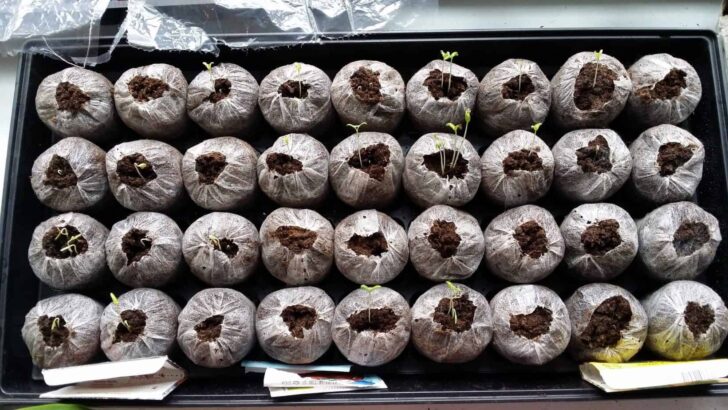
This step doesn't need to be expensive. It just needs to be clean, and appropriate for having seeds germinate and then take up root in the planting medium. There are so many options that you can choose to your hearts content. There are seeding trays. Portable greenhouses and even soil blocking (which we'll be doing this year) and you can EVEN re-use food safe containers that you've properly cleaned and sanitized. The first year we were growing things, we purchased several of the rectangular greenhouses and planting pellets. Those worked well for what we were doing then.


We're now moving to straight soil blocking so we don't have the webbing of the seed pods to contend with as we're cleaning up the soil at the end of the season. This is what works for us, and because we're a larger urban farm, we can invest a bit more in our planting system
Know What Medium to Plant In
This is important. Soil from your already established garden isn't good enough. Topsoil isn't good enough. You'll need to purchase a seed starting mix or create your own. You can try a specialty mix from your favorite gardening store, and just scale it up or down to fit your needs. Most of these growing medium can be found wherever you order your seeds and gardening supplies.

Know What Your Seeds Need
We know this to mean water, light, and fertilizer. This might be new to you, but you do need to feed your seeds. Per usual, follow the instructions on the package.
Know How to Harden Off Your Seedlings
This step is necessary for making sure that the seedlings that you've nurtured for several weeks inside your home or greenhouse don't suffer from shock when you finally plant them outside. Hardening off seeds consists of taking a week or so to gradually get them used to the elements. This means you'll have to set them outside for a few hours each day in a space that is protected and then bring them back in overnight. Gradually increase the amount of time they stay outside, and at the end of the week or so, you can plant them in whatever container, raised bed, or garden you are growing in.
So, tell me - are you ready to start planting your seeds? We can't wait to see what you grow, and we'd love it if you tagged us in photos you share online using #WeSowWeGrow Happy Growing!

