It's no secret that I went to visit Monsanto in the spring. If it is to you, it means you're not following me on Instagram or Twitter. You should do that.
It's also no secret that we homeschool. We may not do it and blog about it like I promised I would, but we do. Today, we're talking about growing an ecosystem in a bottle. Something that takes 15 minutes to set-up once you have all the proper materials.
It MAY be a secret that Monsanto has a science curriculum out this summer that we're trying because I haven't been very good at documenting. Now, before any of you start with your "they're pushing their agenda" comments, I ask that you read all the way through. These are SCIENCE experiments that we're doing, not GMO research. Keep your drawers on. We will live to argue another day.

We're only two experiments in (our first being a garden in a glove - which I'm blogging later - go figure) and the second being the building of an ecosystem. This one really made the kiddies excited. I do remember when I was their age, and we built an ecosystem in preschool, so I'm kind of excited to see what I looked like at three feet tall.
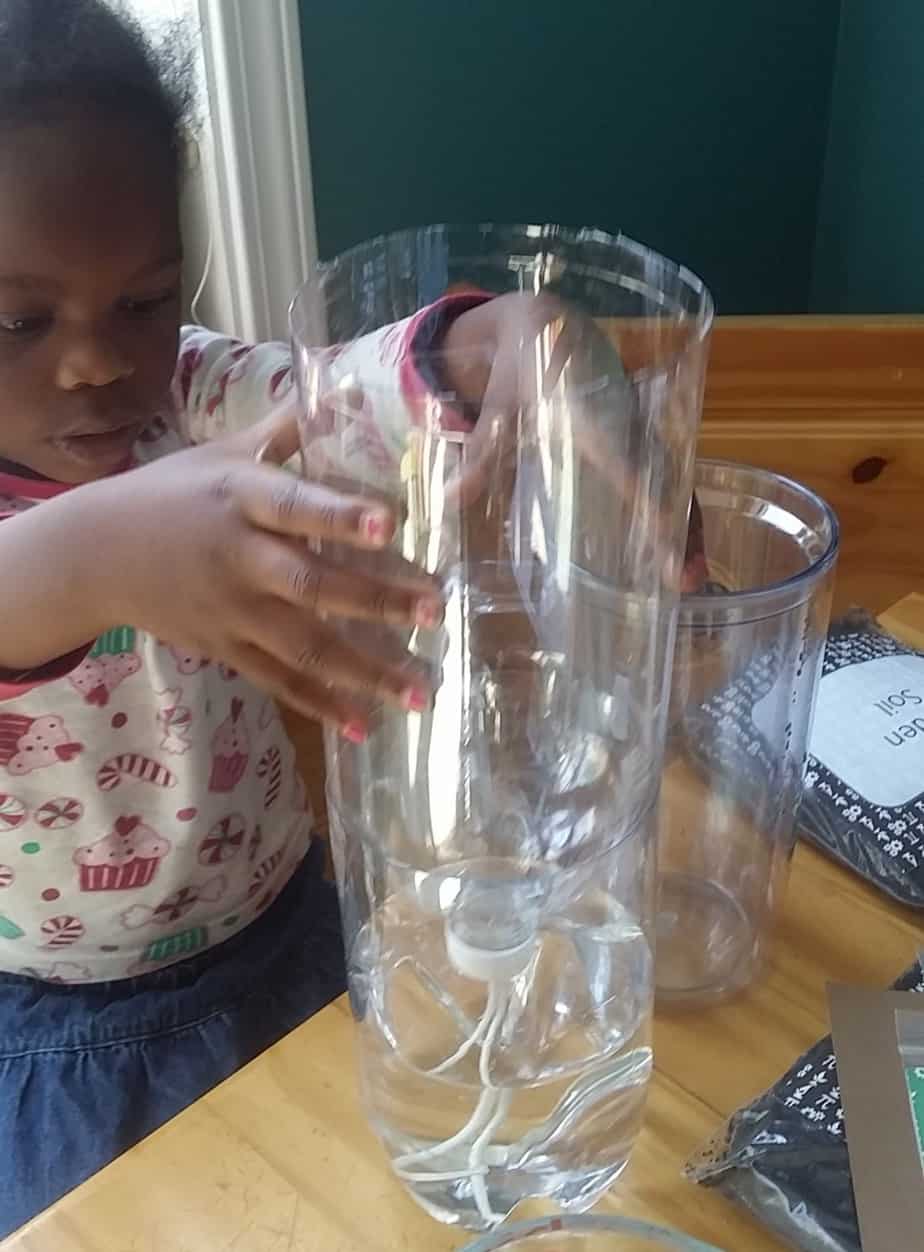
Per usual, Lil Miss was all ready to go with the experiment. Asking questions and giving her answers along the way. A spirited debate even started when she called the "garden soil" dirt, while the ladybug said soil. A dirty look was thrown, and the ladybug fixed it up by saying that dirt and soil were the same thing. We're still in discussion.
Growing An Ecosystem In a Bottle
If you're looking to do this experiment at home, you'll need these items to complete two ecosystems:
- (4) 2 liter bottles - 2 of them with holes in the caps (to snake the wicks through)
- scissors
- marker
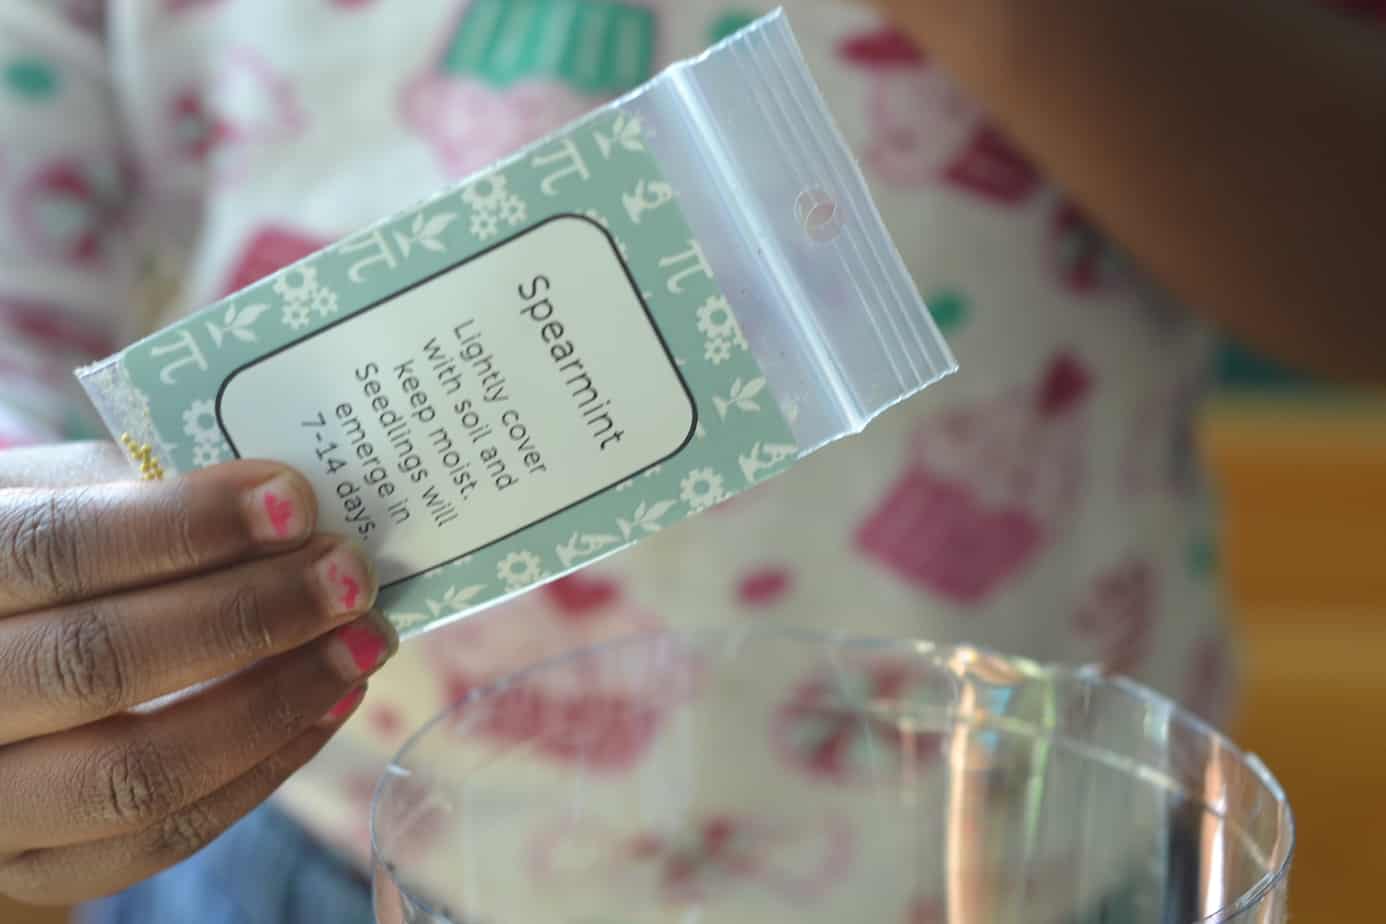
- seeds of your choosing (YES they can be organic)
- water
- soil
- wicks
- ruler
- drill (for drilling holes in the caps)
- safety glass
- vice grips (for holding the caps while you drill)
We followed these steps - I'll post pictures of the steps that I could photograph.
- With your marker, draw a line around one of the bottles about 2 cm below the top curve. You will be creating the line that you will cut to remove the top of the bottle to make the reservoir for your water.
- Use the exacto knife to cut a slit along the line so that your scissors can fit, and continue cutting around the bottle.
- Use scissors to cut the rest of the way around the line. You now have your reservoir, and the lid for your planter.
- Take the second bottle and draw a cut line about 1 cm below the hip (the bottom of the bottle)
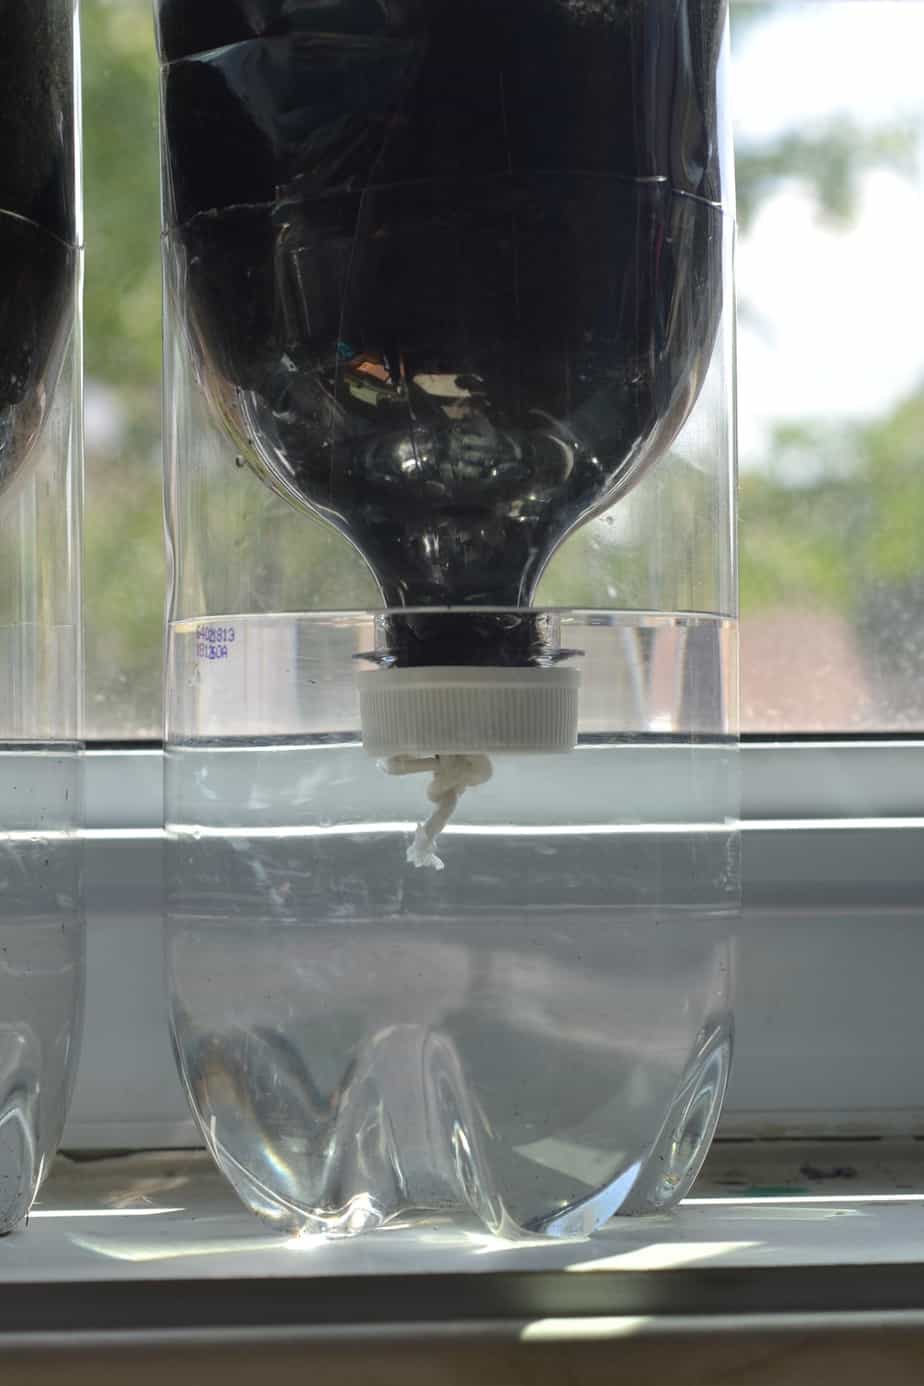
- Get ready to assemble! Place two of the wicks into water until they are soaked through. Then thread it through the hole in the cap. Screw the cap on your PLANTER bottle. *I also took time to knot my wicks (after they were wet) so that they couldn't be pulled through the cap in step 7*
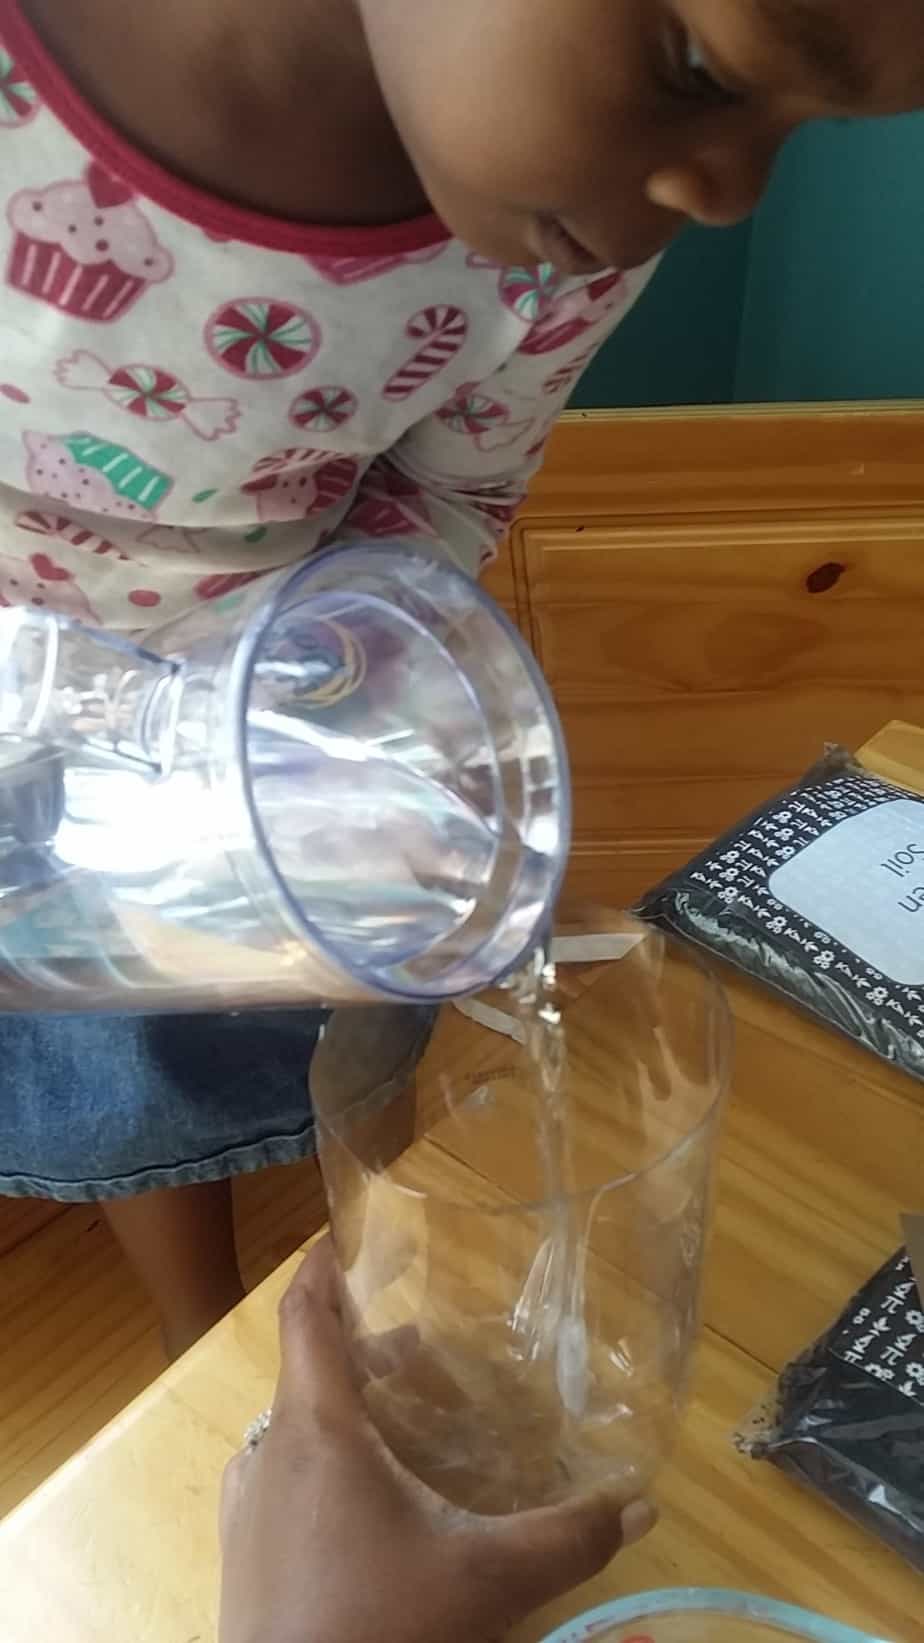
- Pour water into your reservoir. Invert the PLANTER onto the reservoir. Make sure that the wick touches the water, and extends into the planter.
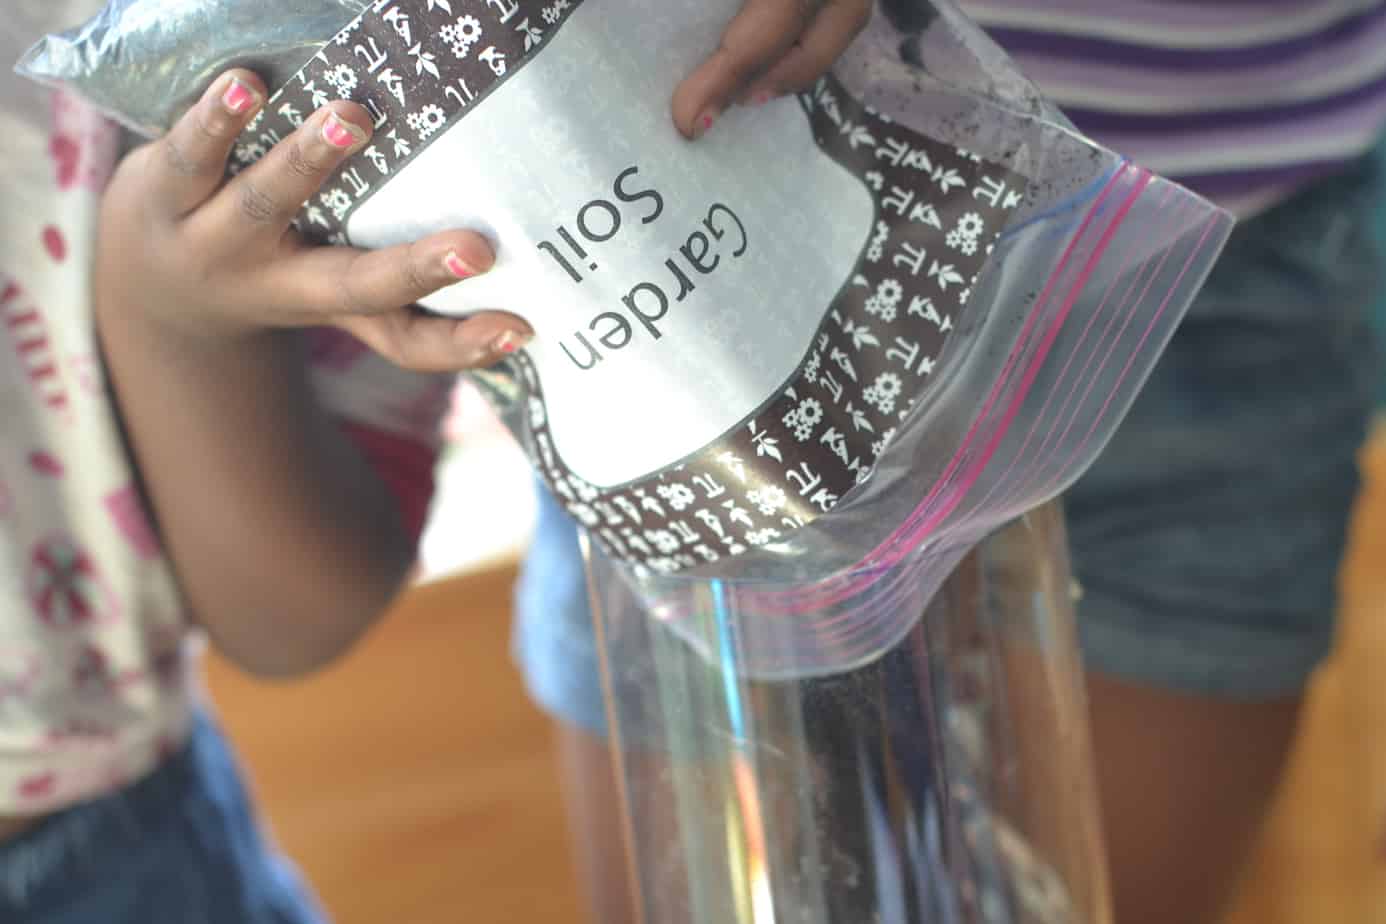
- Add soil to the planter, making sure that the wick has soil being filled in AROUND it, and doesn't stick against the side of the container. Bury the top of the wick in the soil. Reserve some soil to place over whatever seeds you plant.
- Plant seeds.
- Use a marker to name your ecosystem, and label what's in it.
- Place the top of the planter onto your ecosystem. Find a warm, sunny spot to watch for germination!
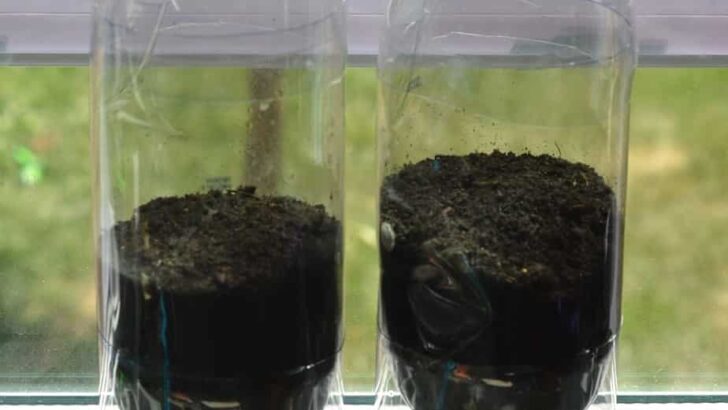
Today, we talked about where the water was going from the reservoir (we marked where it was before putting it on our window sill) and why droplets were forming inside the planter. Of course, they wanted seeds to have sprouted NOW, but I think that this will be a GREAT up-close lesson about germination, and how an ecosystem can be relegated to something as small as a jar. How things can grow in a bottle, and don't always need a huge piece of land, and how people with no backyards may still be able to grow their own food.
Try this experiment out with your own littles and tell me how you like it!

mariah
Thursday 8th of February 2018
nice im learning how to do this my science class this alsome but alr by ttyl
Back To School with PBS Kids & Whole Foods | Houseful Of Nicholes
Saturday 15th of August 2015
[…] home. As homeschoolers, we’re focusing a lot on that HUGE acronym S.T.E.M (did you see our Ecosystem?) and really promotes discussion of the situations that George finds himself in. It also provides […]
Ginny Marie
Friday 7th of August 2015
Great idea! I really want to try this with my preschool class!
Janice
Thursday 6th of August 2015
Natasha, Glad to see you are enjoying it... and the photos of those little fingers and that little face... SO CUTE!