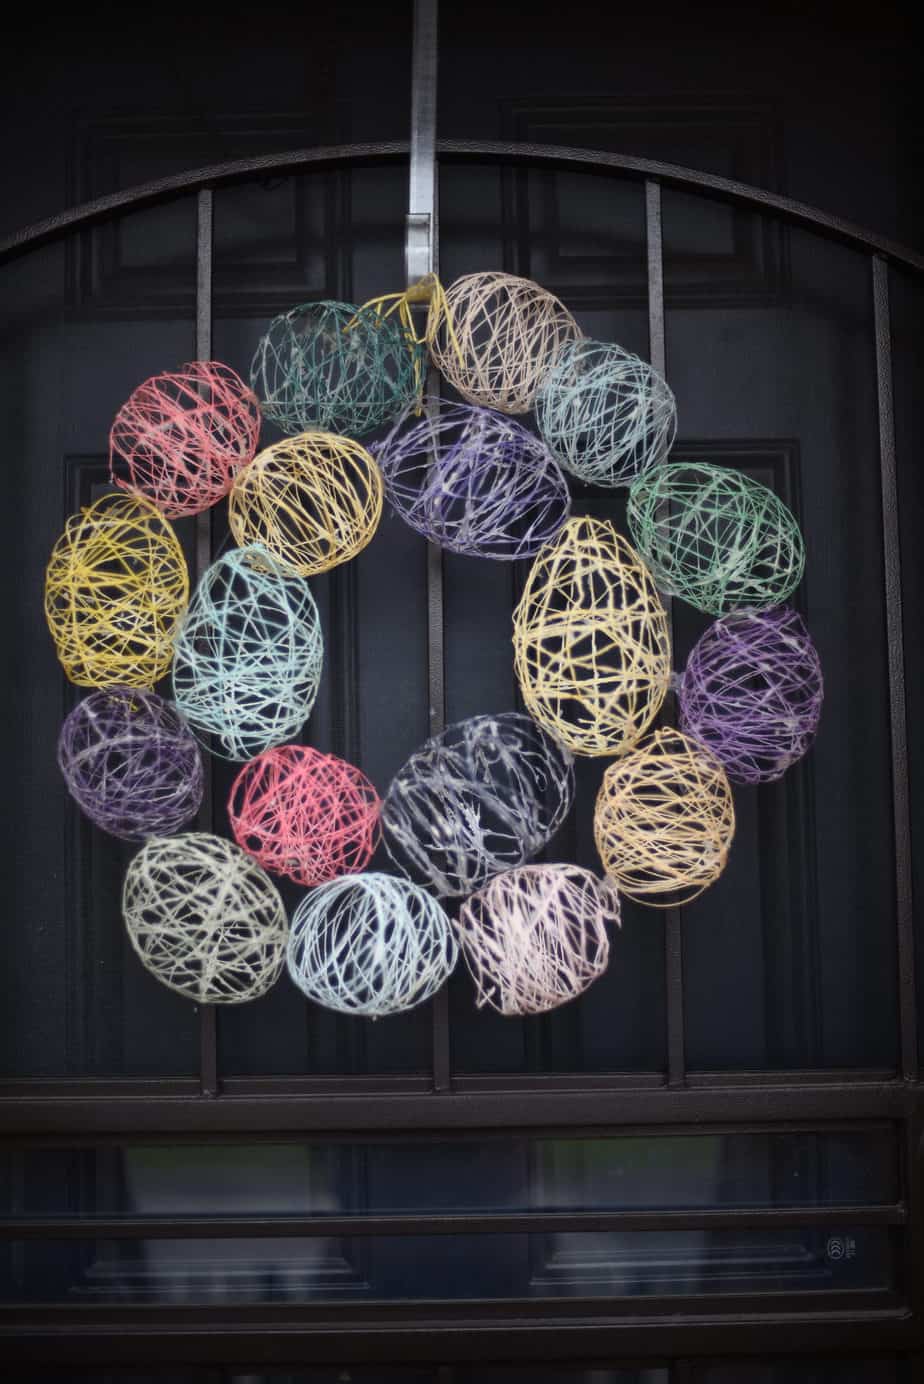
It's springtime, which means that it's almost Easter, and because I'm trying to get better at creating more DIY decor around my house, I figured I'd give this DIY Easter egg wreath that I've seen over and over again on the internet a try. I'm still loving the results, and I think that I may just create smaller eggs to put into a bowl for my sofa table. It was a two-day process, but I'm pretty sure if I would have started early in the morning, I could have had it done in one day.
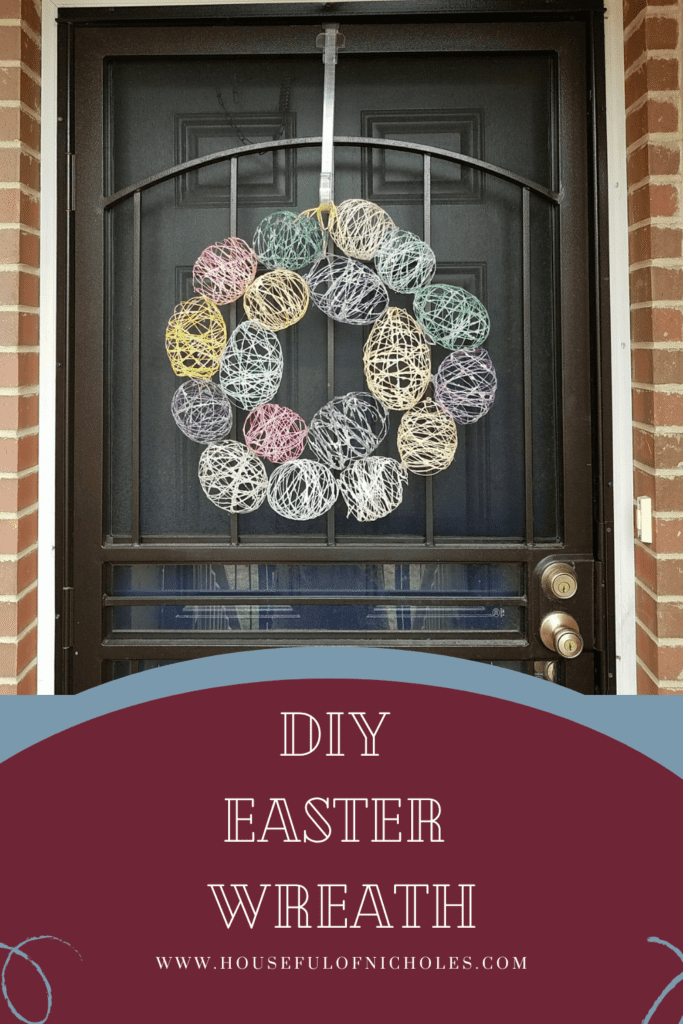
If you're reading this BEFORE Easter, you can still make this DIY Easter Egg Wreath just in time for Easter Sunday. If you're reading it after Easter, you can make it in time too. You'll just be super early!
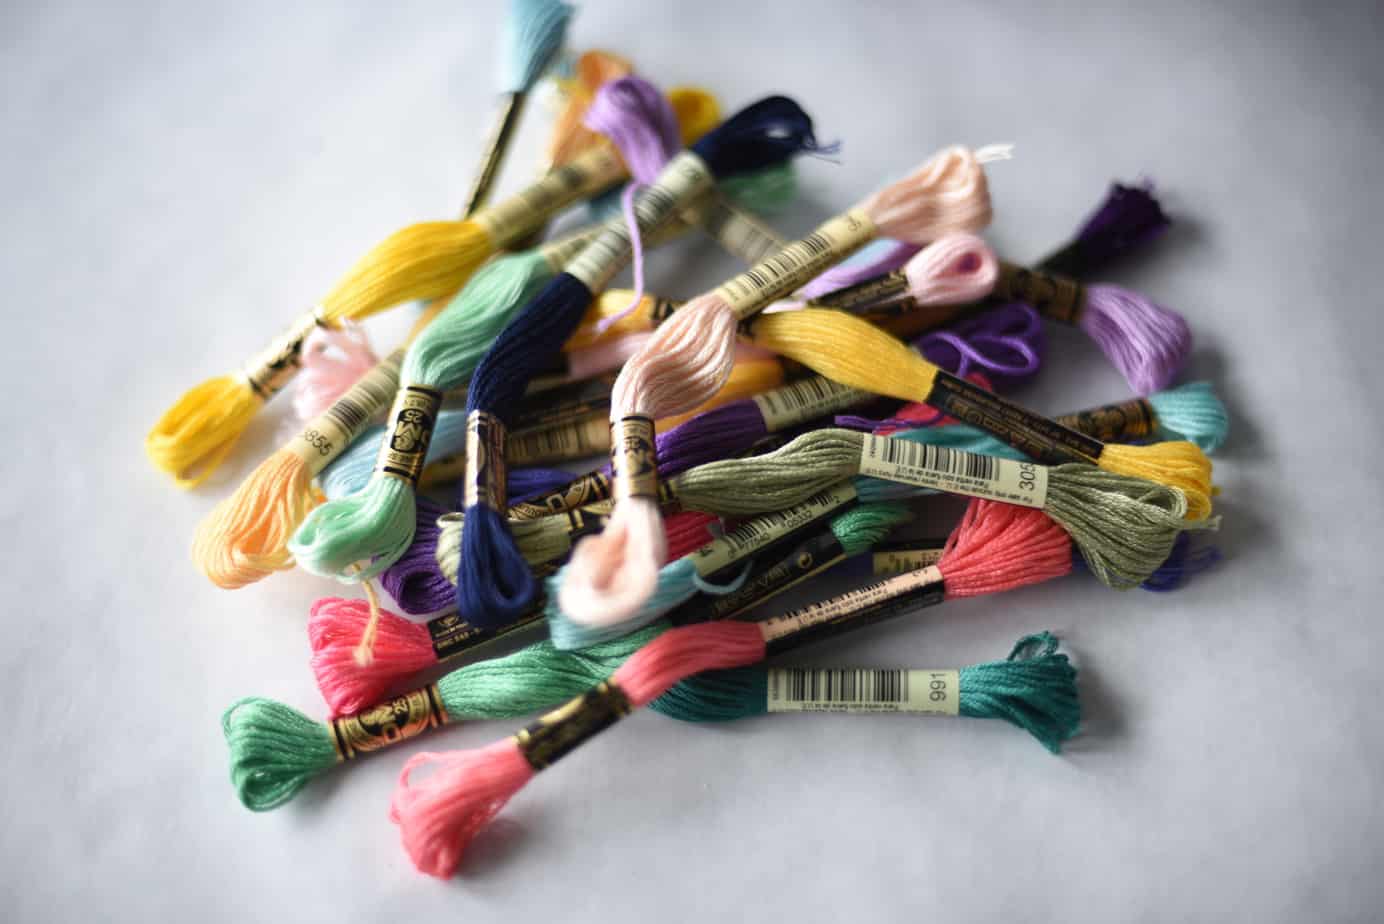
I started with a run to my local craft store, think Michael's/JoAnn/Hobby Lobby/AC Moore. I picked up embroidery thread there. You would have thought that I would get soft pastels, but I'm a grown up and I do what I want. I also for water balloons, but I got those from a big box store instead. Don't look for a particular kind. The pack that I got was less than a buck. I'm sure you can find them at a place like Dollar Tree too. Either way, all I'm saying is, don't go overboard on the duckets with the balloons. You're going to pop them in the end, and well, yeah.
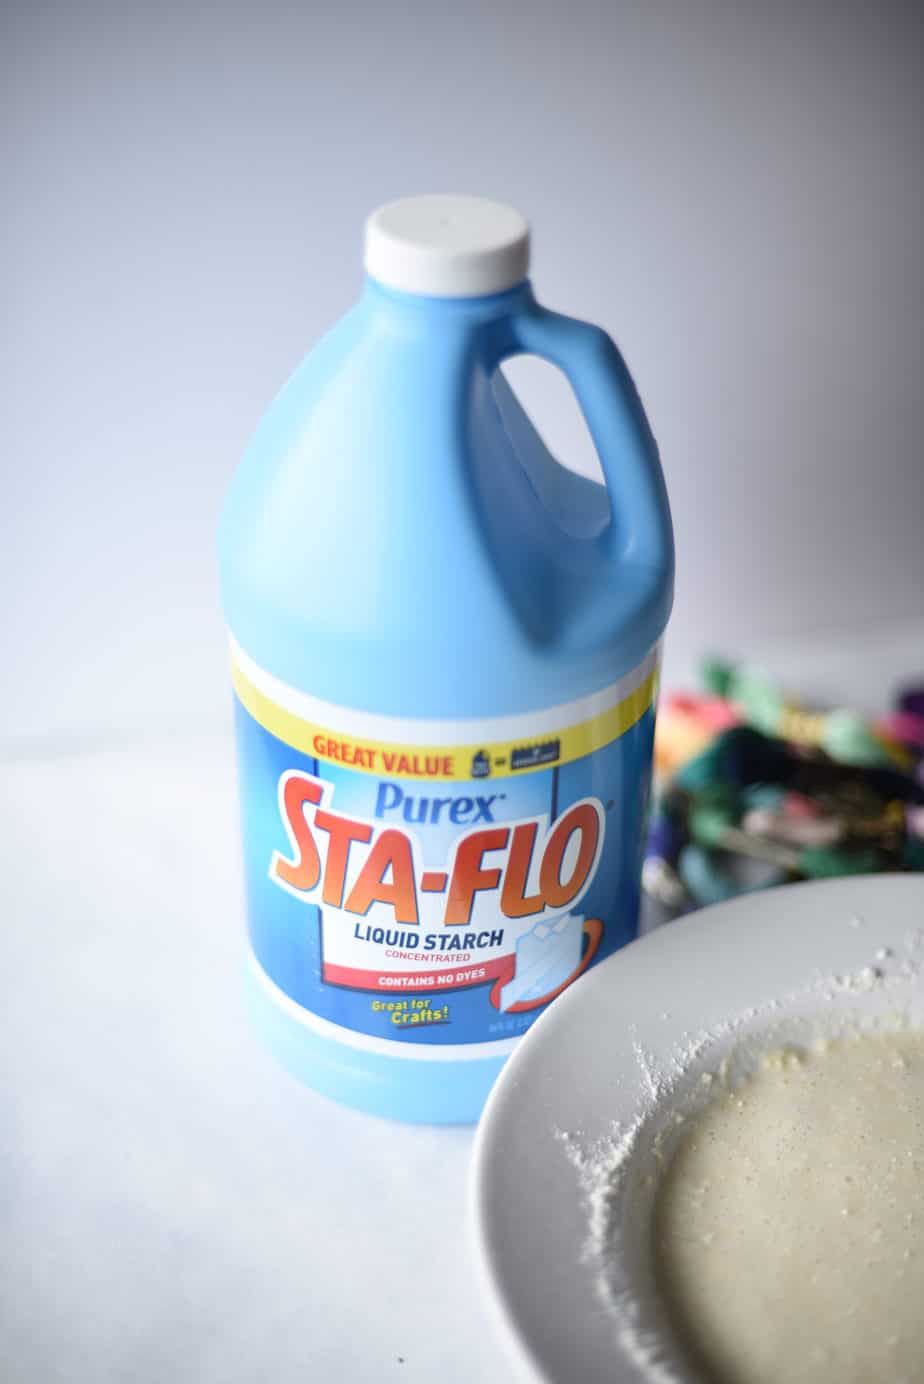
If you're my mom or my grandmother, you already have liquid starch, however, I try to avoid ironing as much as possible, so I don't need it. Which meant that I had to pick THAT up too from the big box store. I chose the largest bottle they had, which happened to be Sta-Flo. Back in the day, we used to use Niagara Spray Starch. Do they still make that? *please hold* Yes, they do. I just googled it. You can use that too. Just as long as you can get into the bottle and pour the starch out, you're gravy. Don't get an aerosol can, okay?
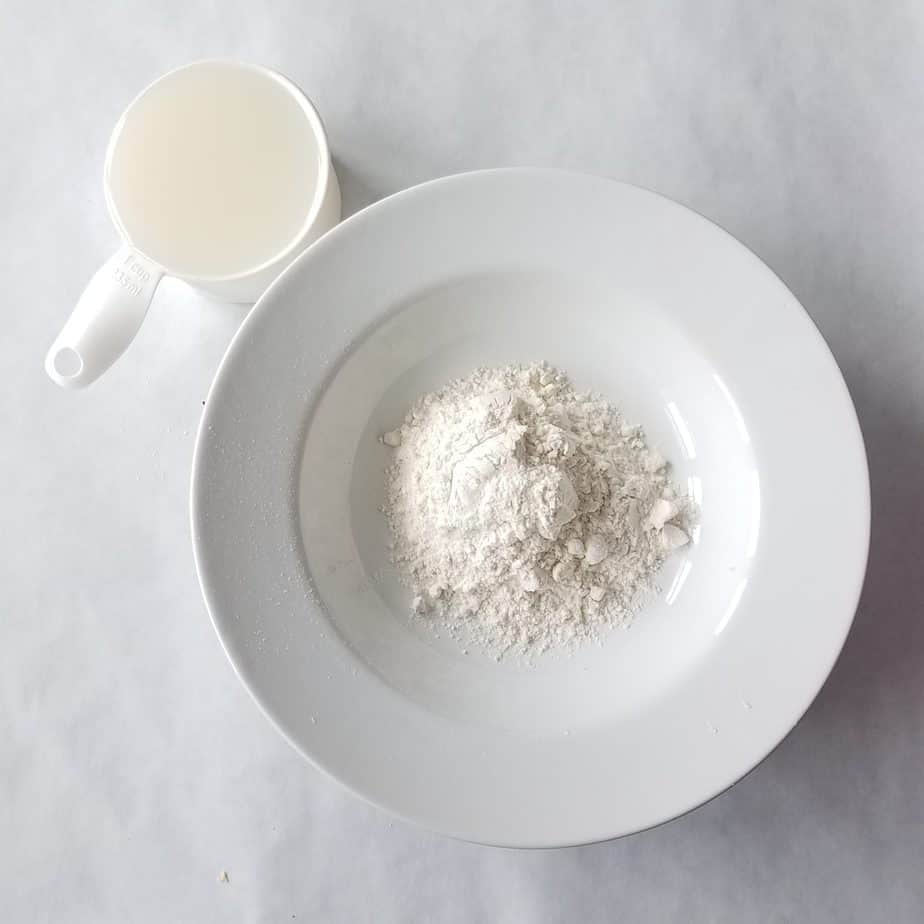
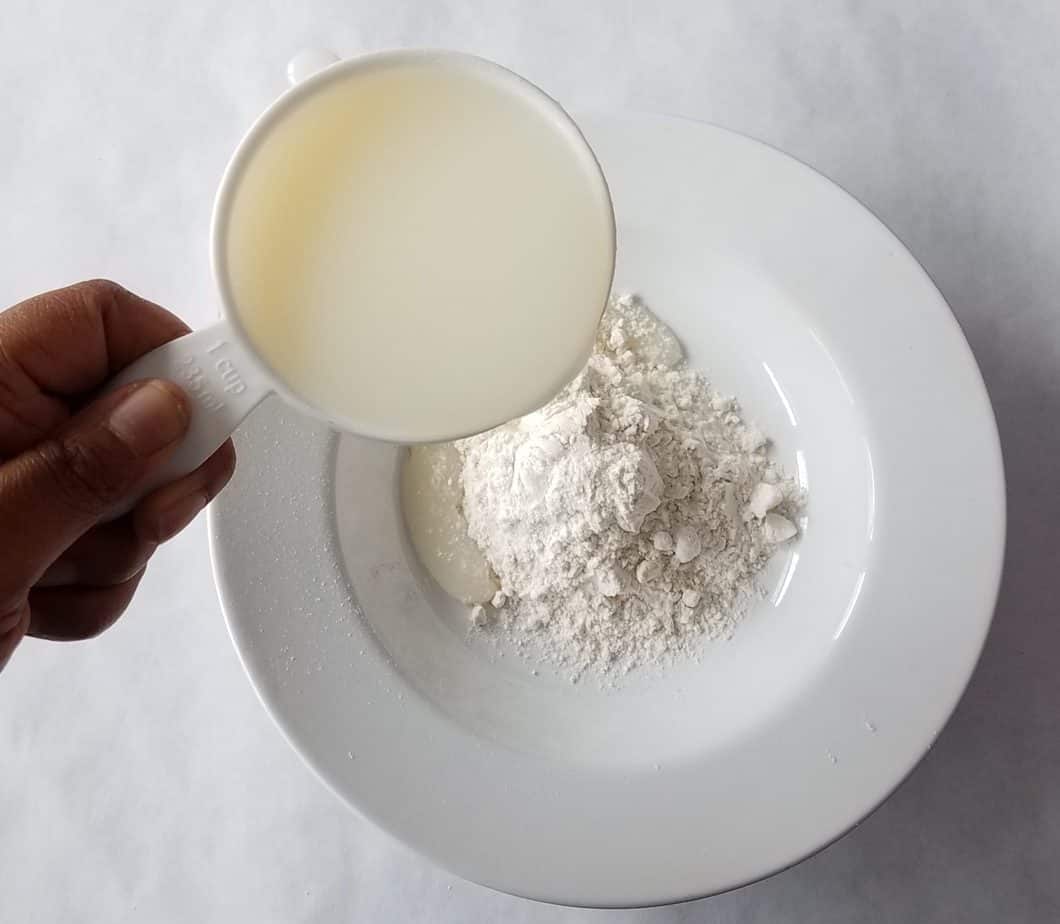
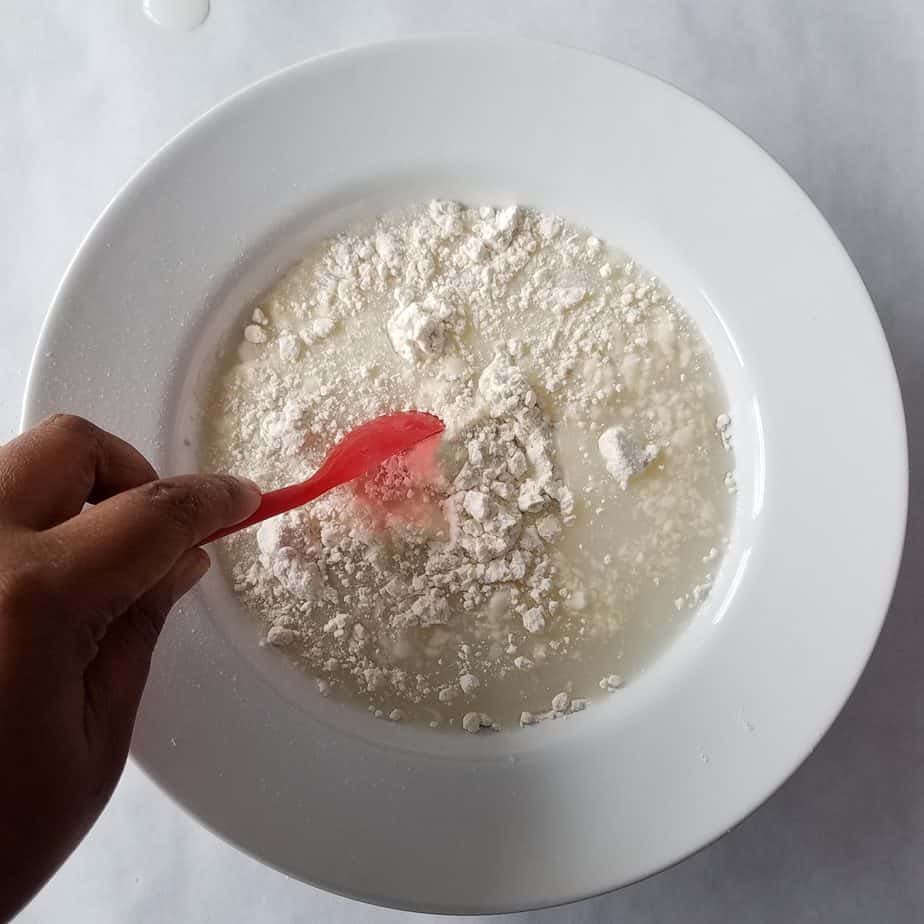
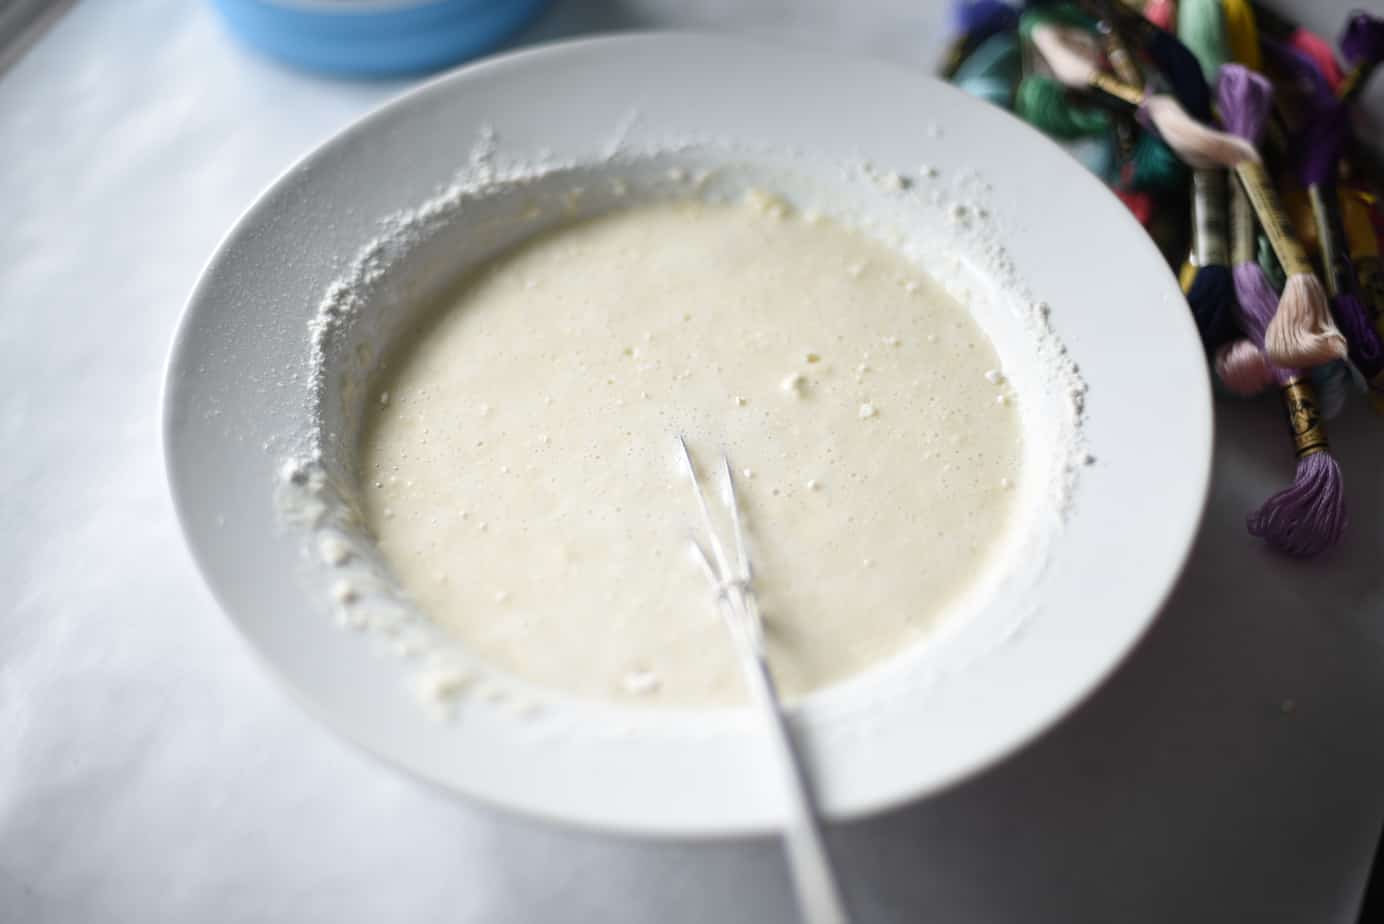
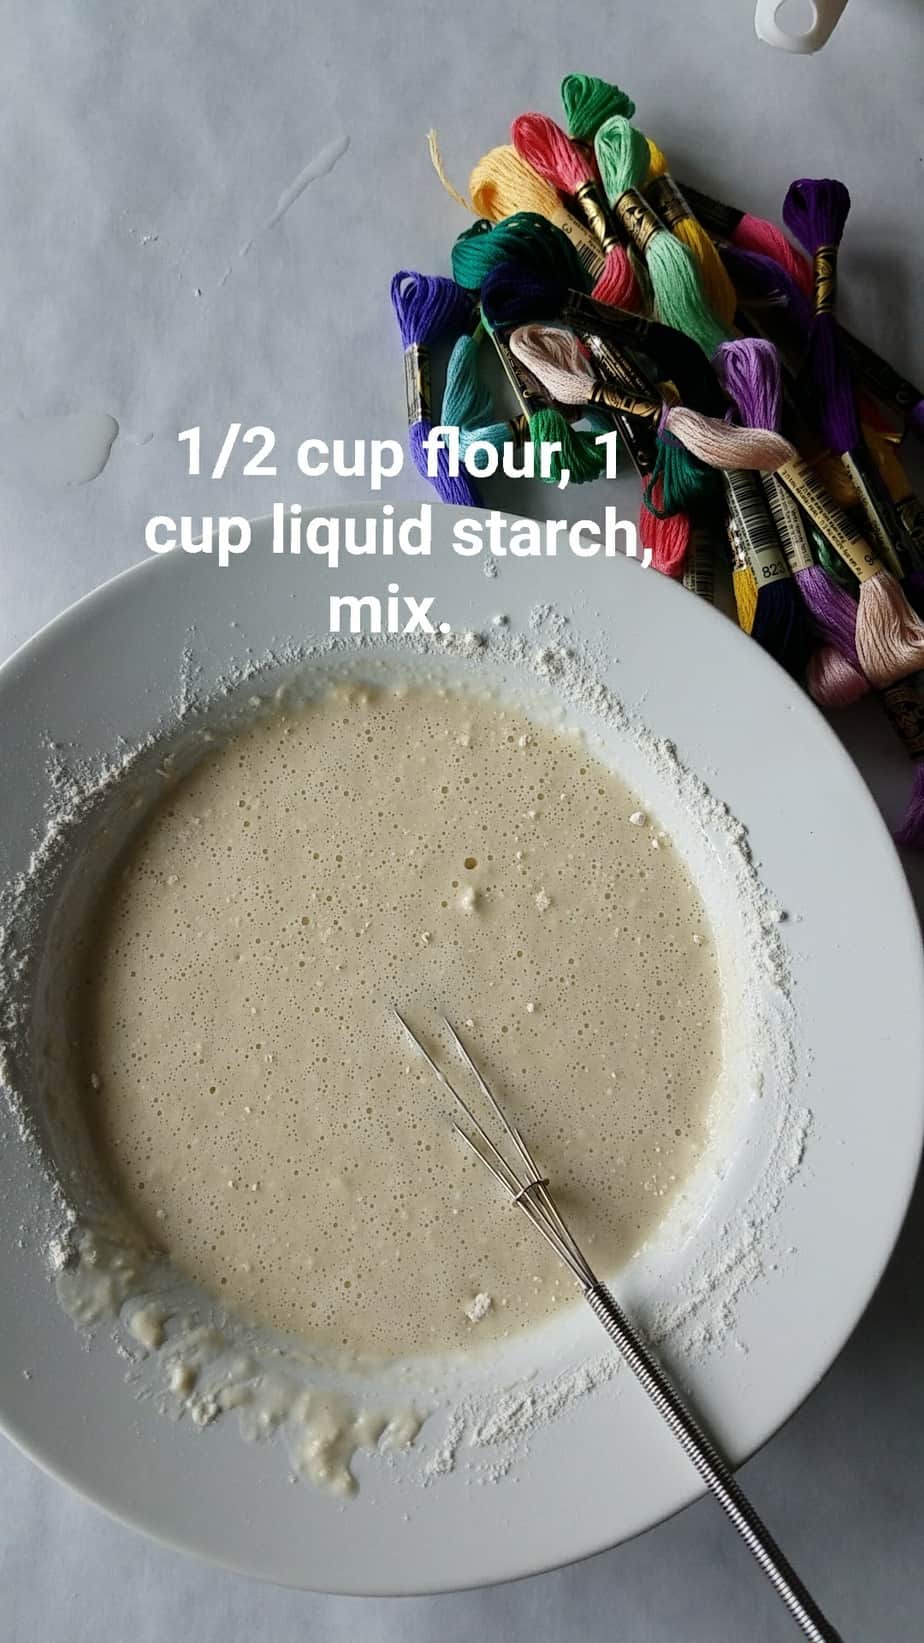
Just know that you'll also need a half cup of flour to mix with the full cup of liquid starch for this project. You'll use it all, especially if you have kids helping you. I assume you'll have children helping you because... cheap labor.
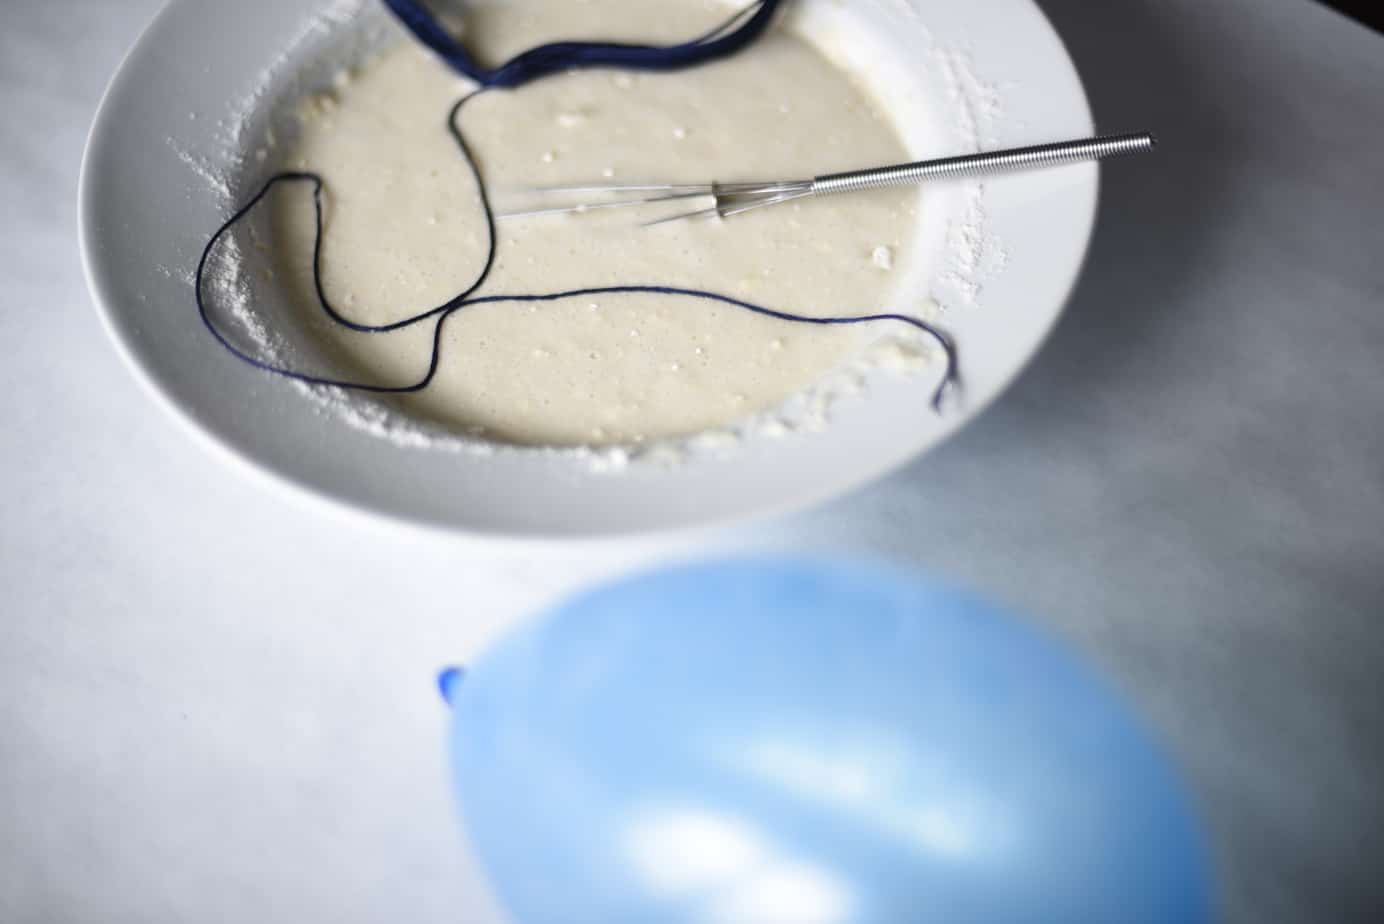
Afterward, you should unravel each of your embroidery threads. I used my handy dandy 8-year-old ladybug. I had her wrap the entire spool around her wrists as if I was going to wound a ball of yarn for knitting. That way, I wouldn't knot up the thread, and end up banging my head against the wooden table that Mr. Houseful and I built last year. It worked, so well that she was ahead of me every single time I needed to switch thread colors. Also, use some wax paper, or parchment paper to catch all the goop. You'll thank me.
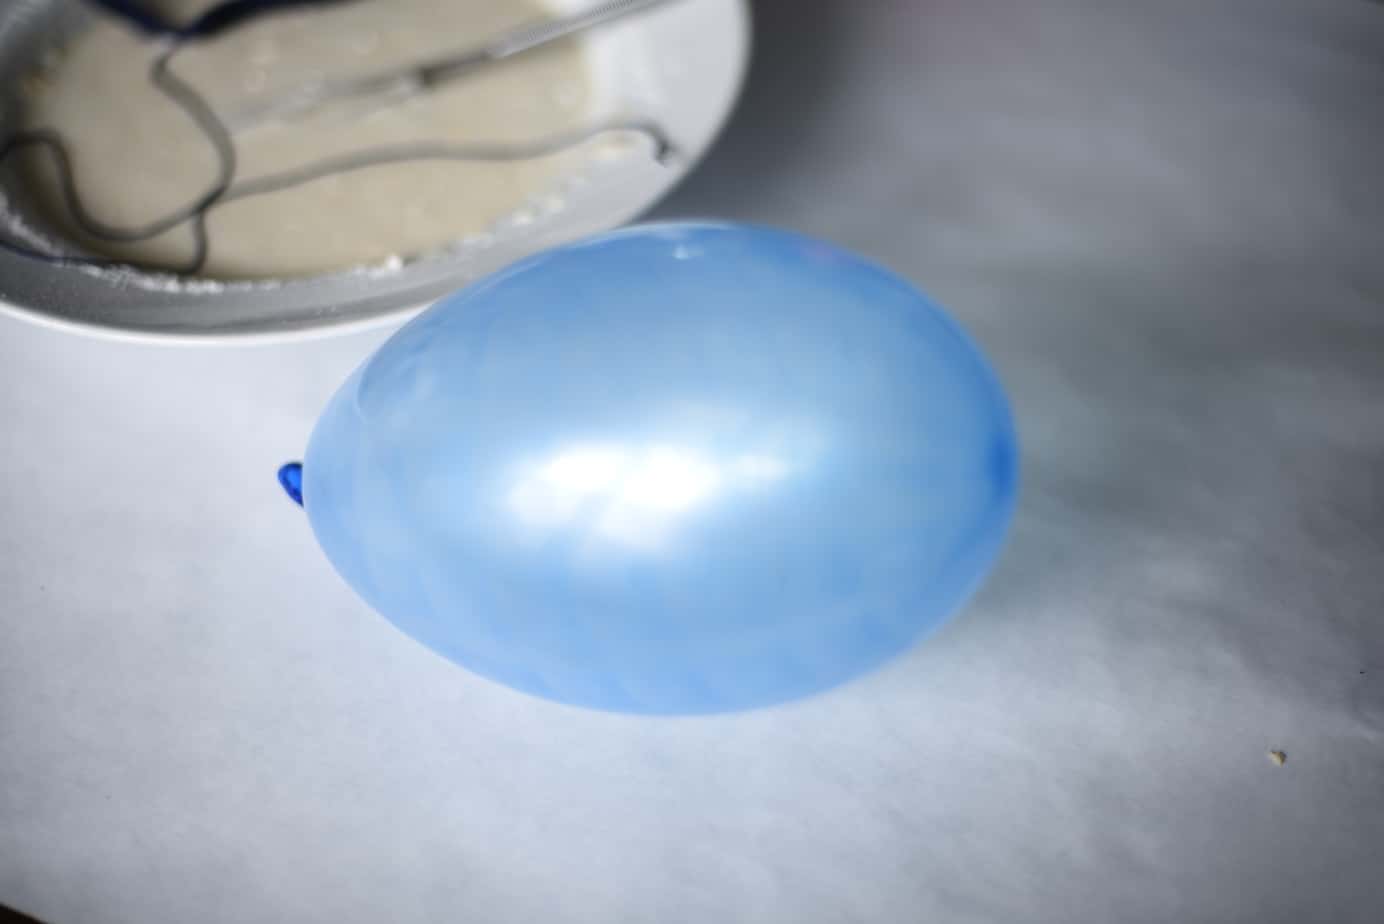
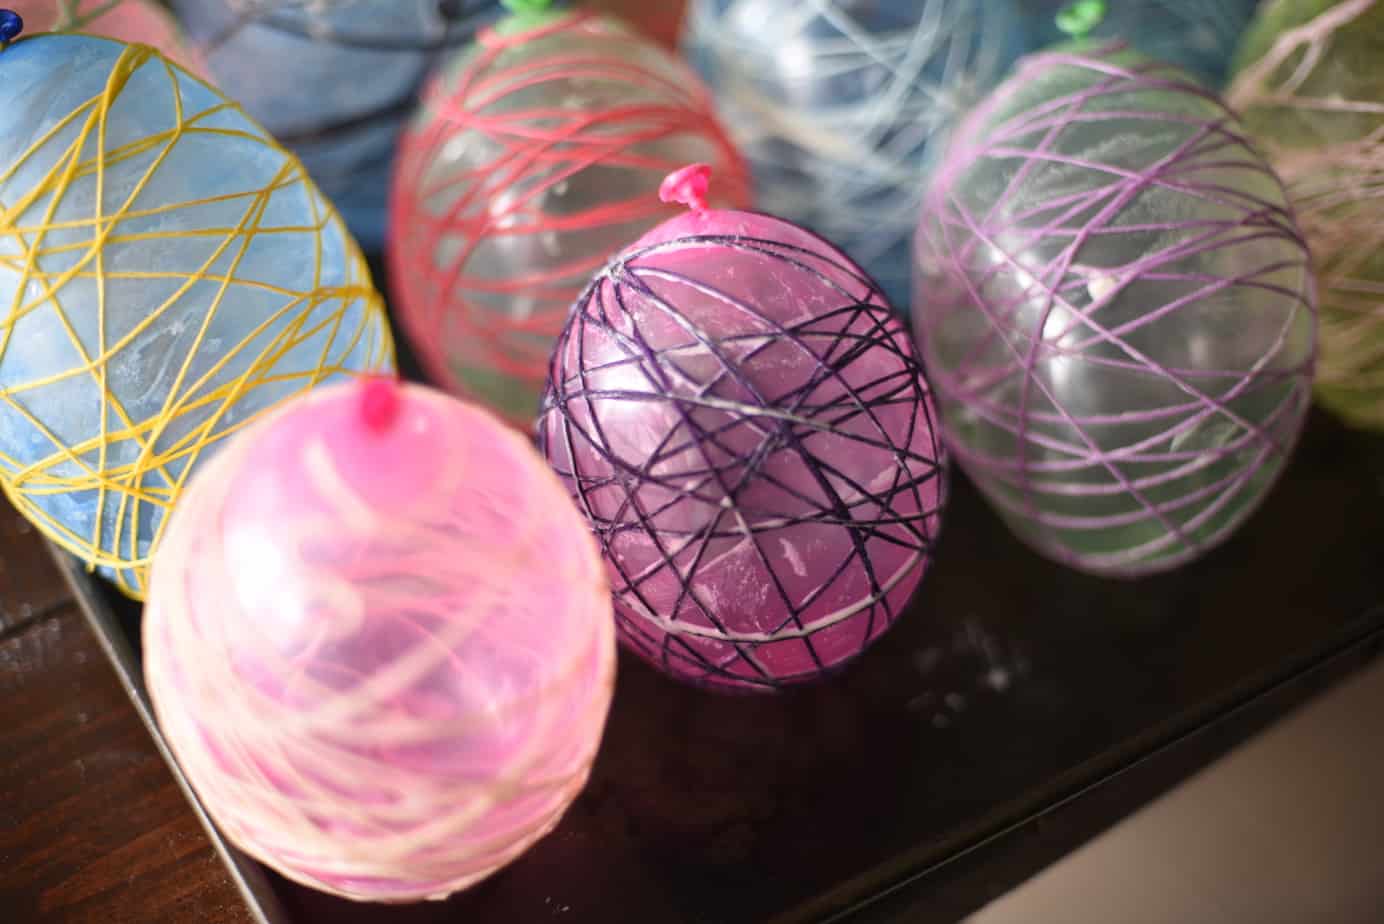
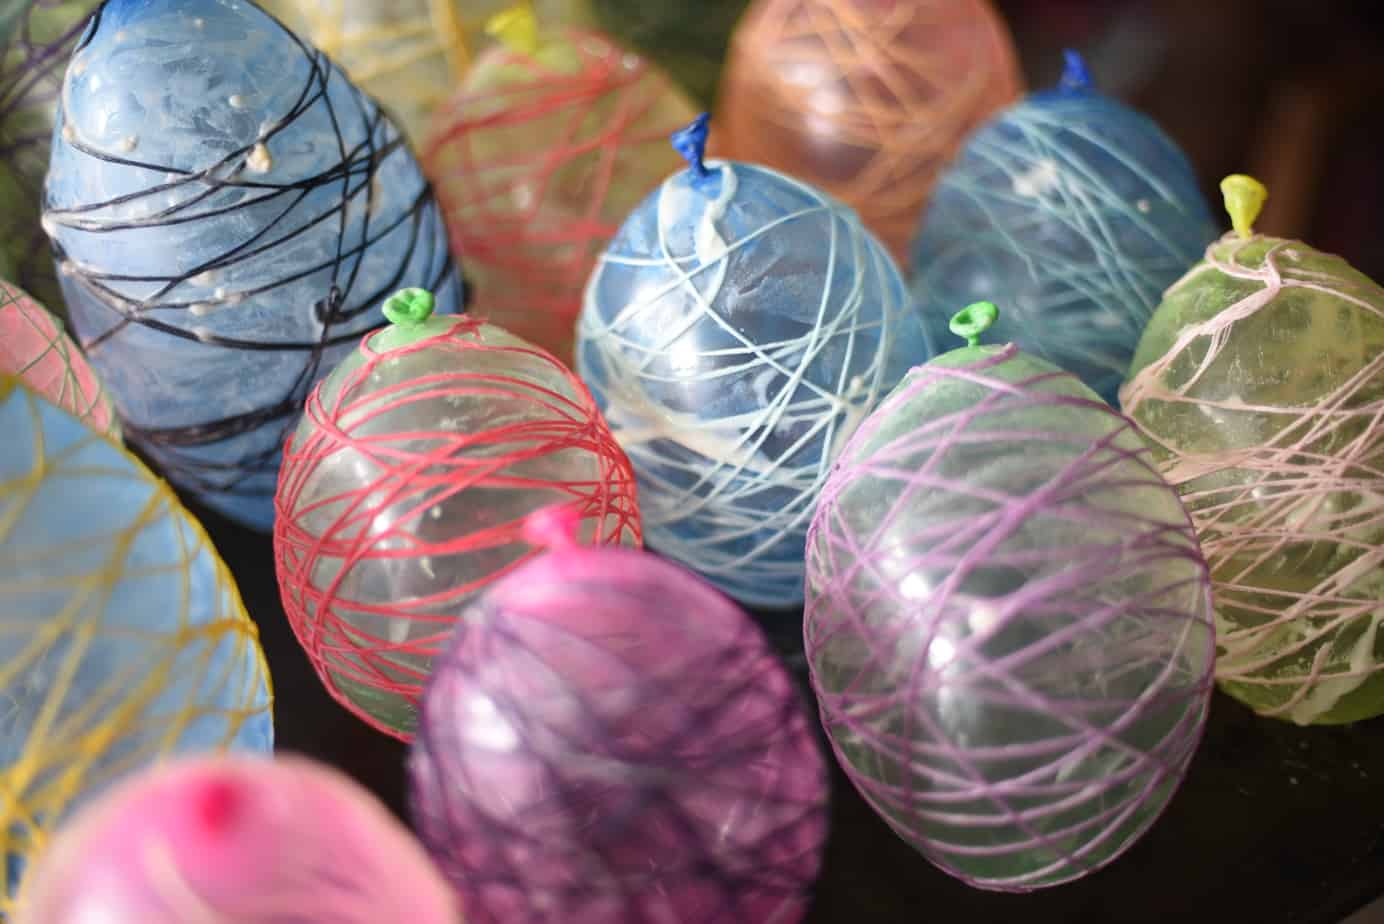
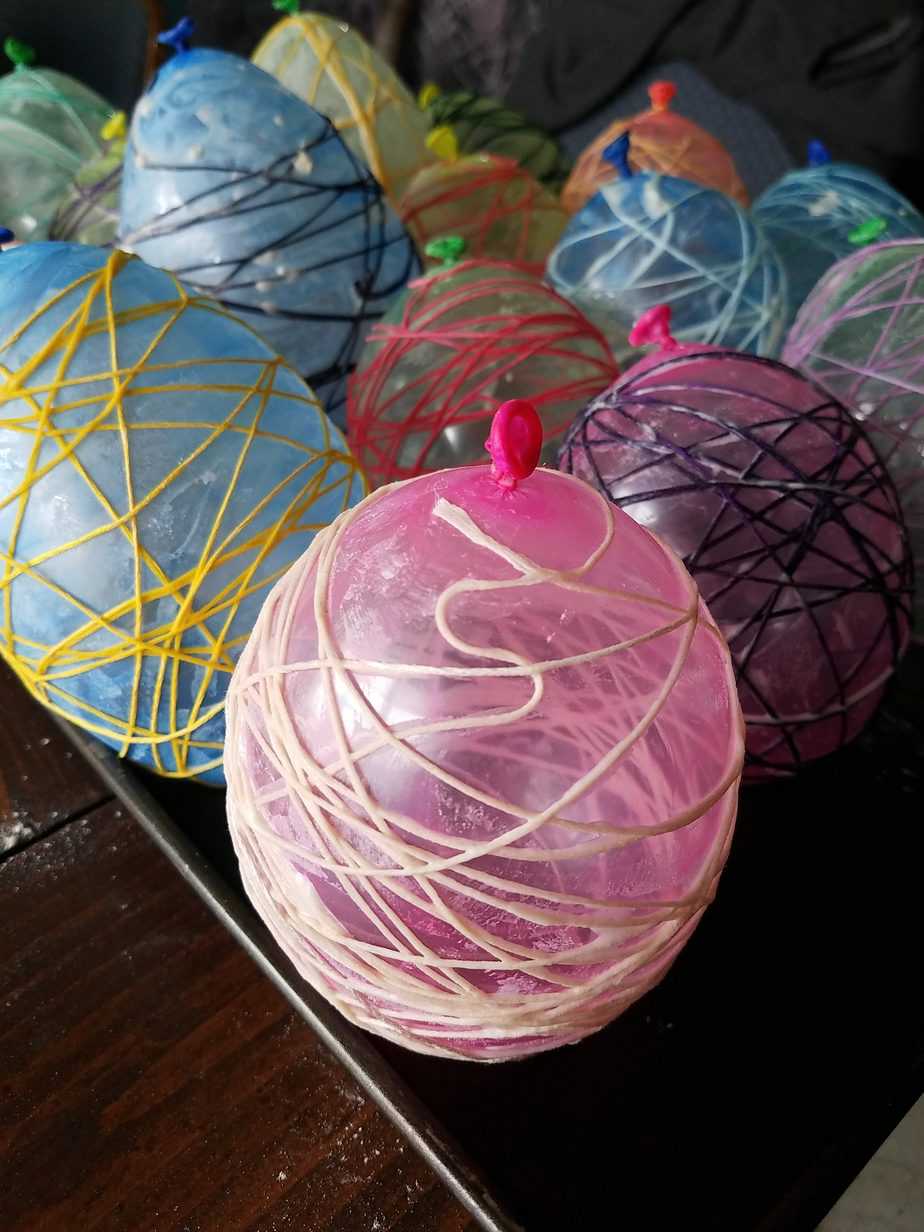
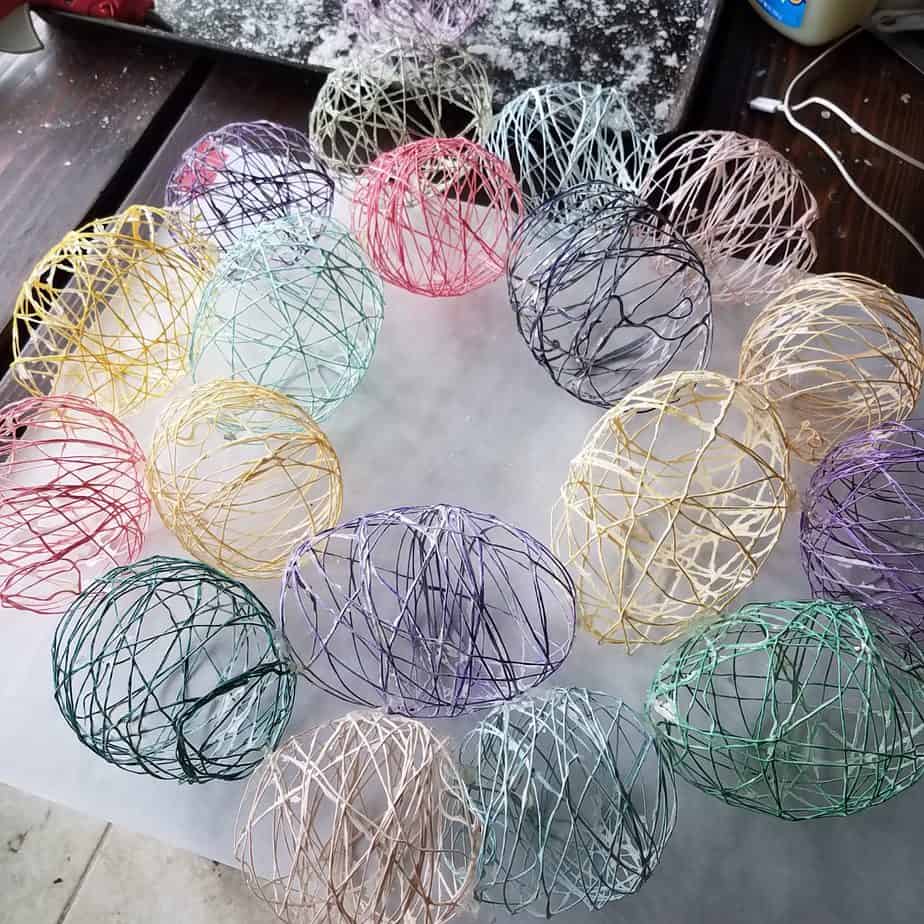
There was no rhyme or reason to how I wrapped, but I attempted to make sure that there wasn't too much space between the wraps. So that when I popped the balloon, the hardened thread wouldn't collapse on itself. I ended up with twenty balloons, but only used 18 for my wreath. Most of it had to do with the fact that I blew four balloons way too large. Okay, I take that back. I blew fourteen balloons up too large and ended up giving those to the kids and blowing up 10 more. Keep up.
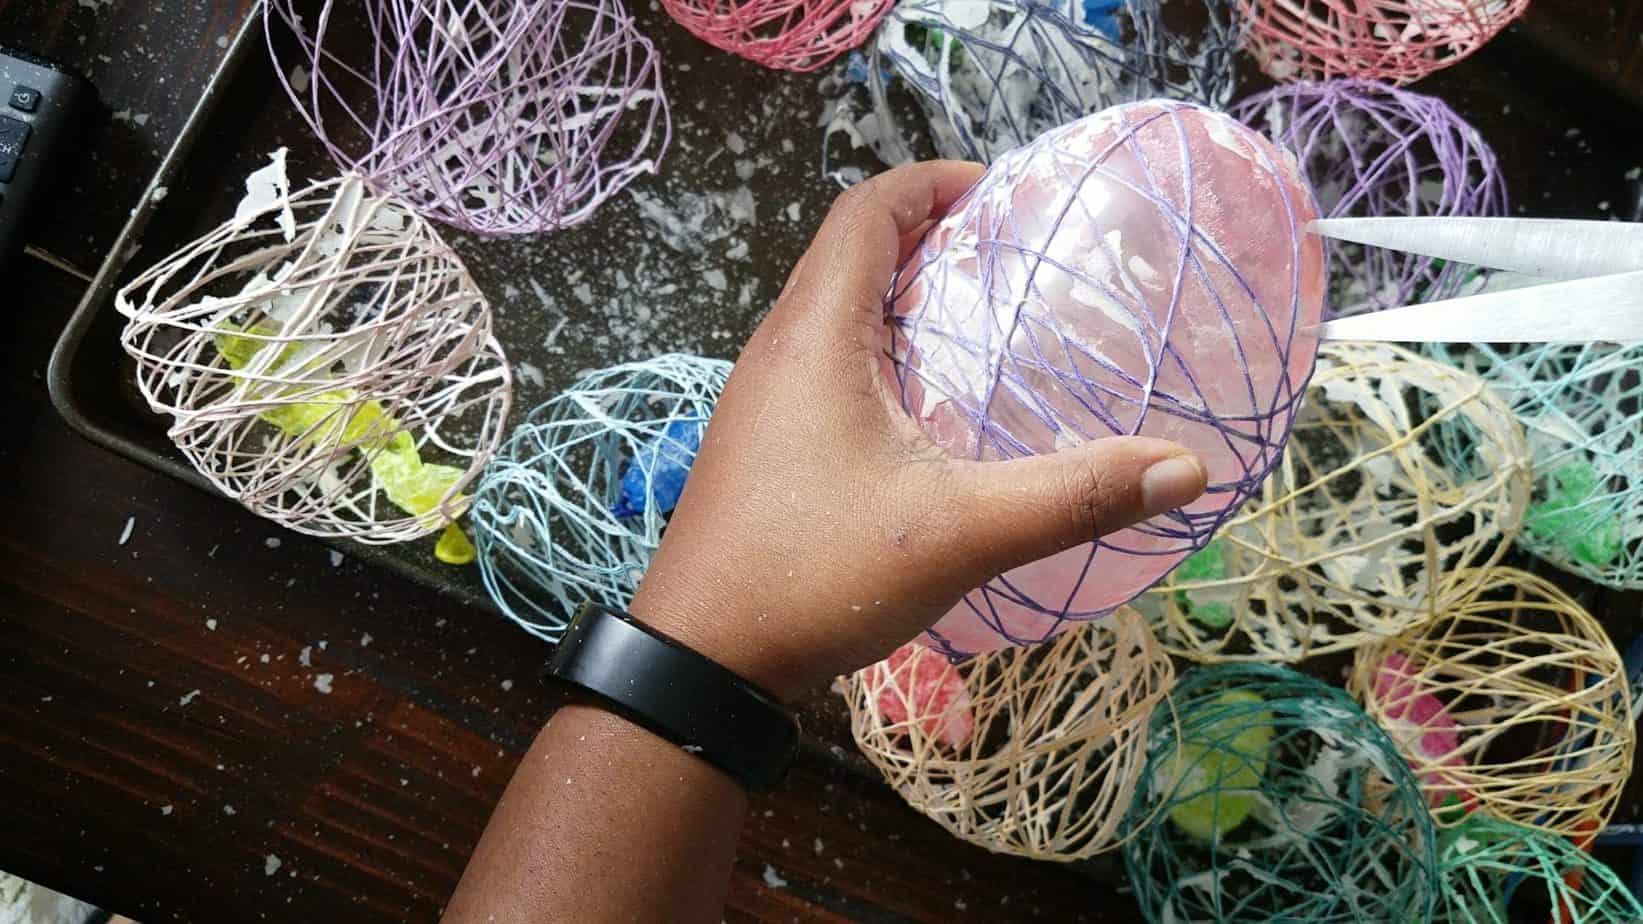
I'm not sure I can properly explain how amazing it is to pop balloons this way. Any other way is enough to make me scream to the rafters, but THIS, this way rocks. You also want to wait a full day before popping these because the thread needs to be dry. FULLY DRY! Don't try to ease the balloons away from it before they are thoroughly dried!!!!! I used more than one exclamation point on purpose.
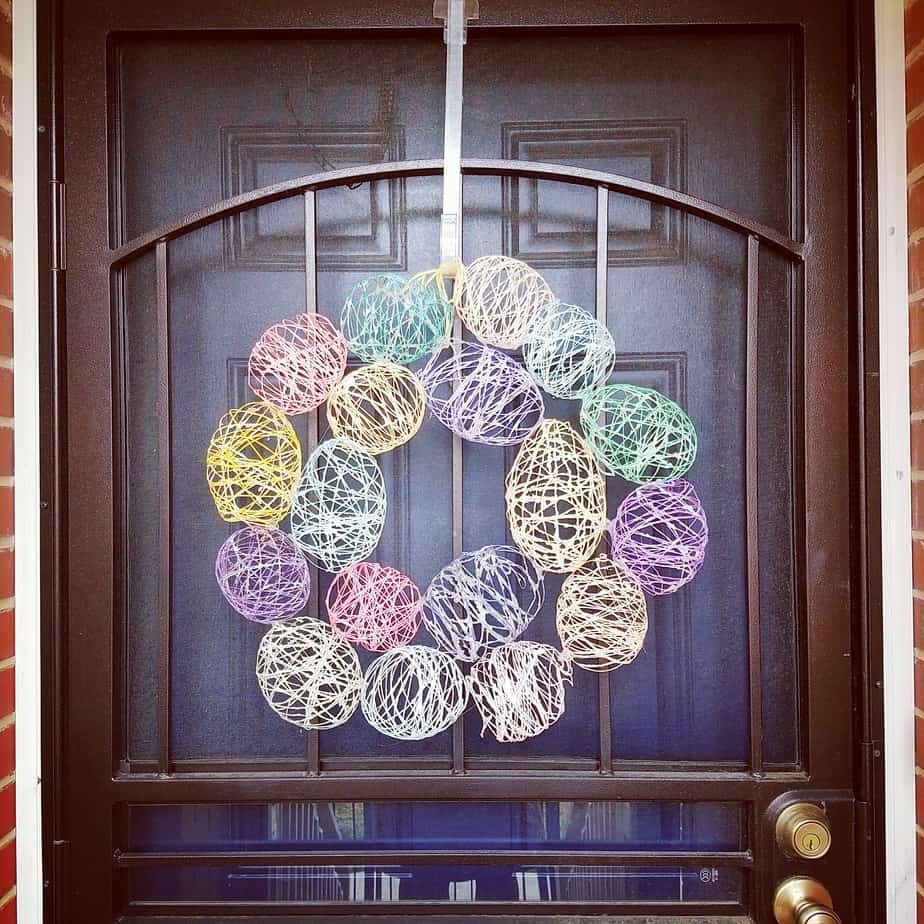
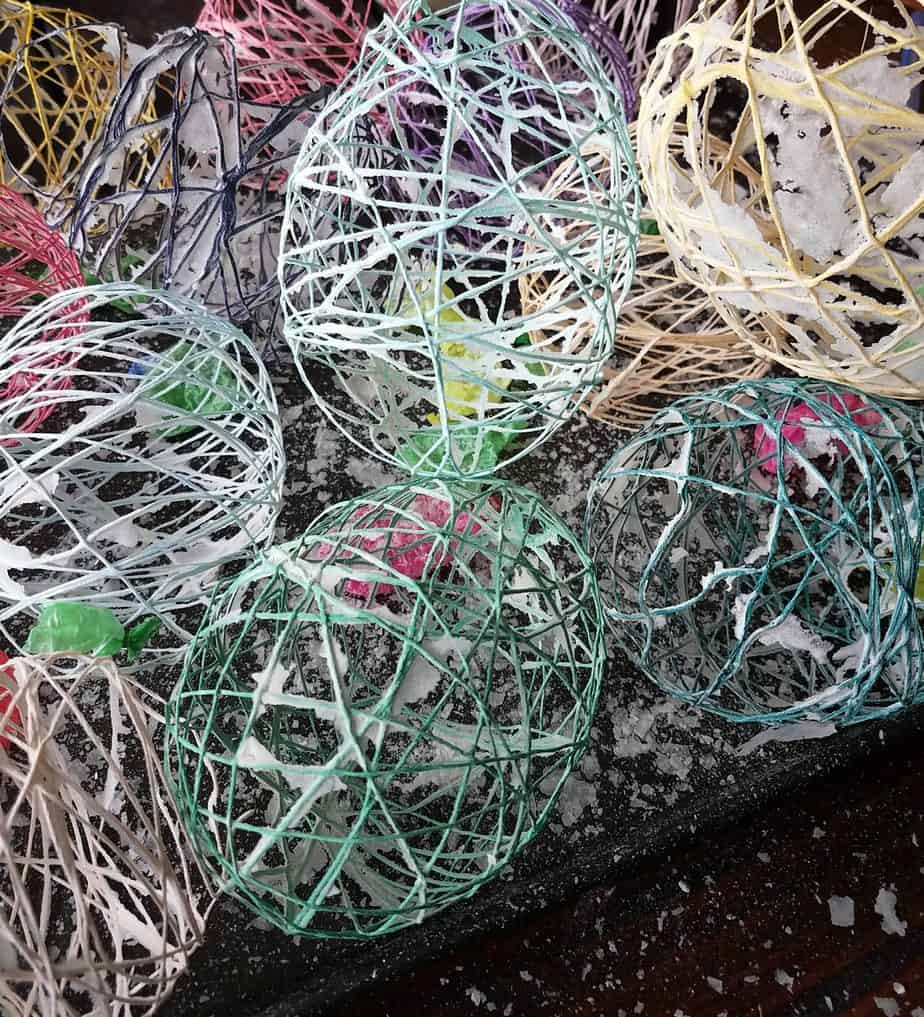
As you can see, these still have remnants of the starch mixture on them. This is the PERFECT project for little hands. If you give these to them and tell them that anyone who completes six eggs can have free time for homeschooling today, it just may work. We used planter markers to get into those tight spaces, but I figure tweezers or a toothpick would also do the trick. Afterward, you want to arrange the eggs in a circular pattern and hot glue those babies together!
After you have arranged it, and your three children have given their input as to how it looks, you can set it with hot glue, which is actually kind of tricky since there are so many openings. You're a superhero though, so you'll figure it out. You can then use some of the leftover embroidery thread, or any yard or ribbon that you have, to create a loop to hang your wreath with.
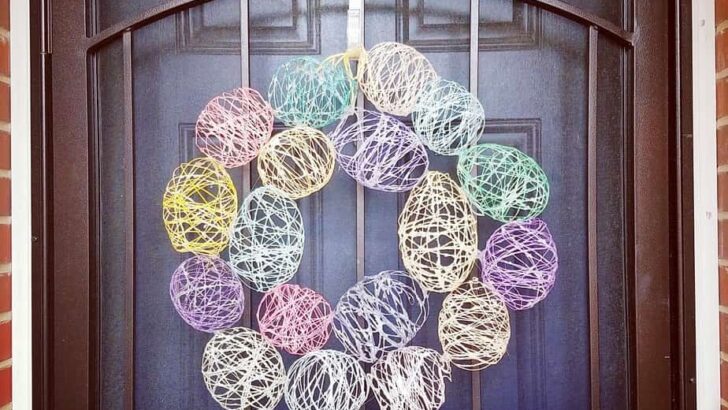
I think that it came out pretty well if I do say so myself. Now, it's your turn to try! Do it!

Easter Gifts for the Family
Monday 25th of March 2019
[…] that folks love shedding the winter wardrobes for brighter, lighter garbs. Yours truly included. We decorate doorsteps and even prep special egg […]
Claudia Krusch
Sunday 2nd of April 2017
It’s so colorful! I've never made crafts with starch before, love the idea!
Love U Wedding
Sunday 2nd of April 2017
This is totally cute and fun idea! Egg Wreath is a unique idea, I would love to try it!
Olivia Douglass
Friday 31st of March 2017
Oh my goodness - this is so cute!!! I need to head to my local craft store and make this!
thriftyjinxy
Friday 31st of March 2017
Your wreath is so fun! I made those string eggs many years ago, but never thought to turn them into a wreath. Great idea!